Who is this article for?
Owners, managers, cashiers, servers, and new team members who need a practical first pass through Selio Restaurant App before using it with guests.
Reviewed by: Selio Support Team
Last updated: May 13, 2026
Use this tour to understand the main parts of Selio Restaurant App before service: where staff starts orders, reviews open checks, takes payments, and where managers continue with reporting or close-of-day work.
Selio Restaurant App is the front-of-house POS workspace for daily restaurant service. Staff use it to start orders, work with checks, move through payment, and keep service moving. Managers use the same app context to review activity, transactions, fiscal actions, and end-of-day tasks.

Lesson 01
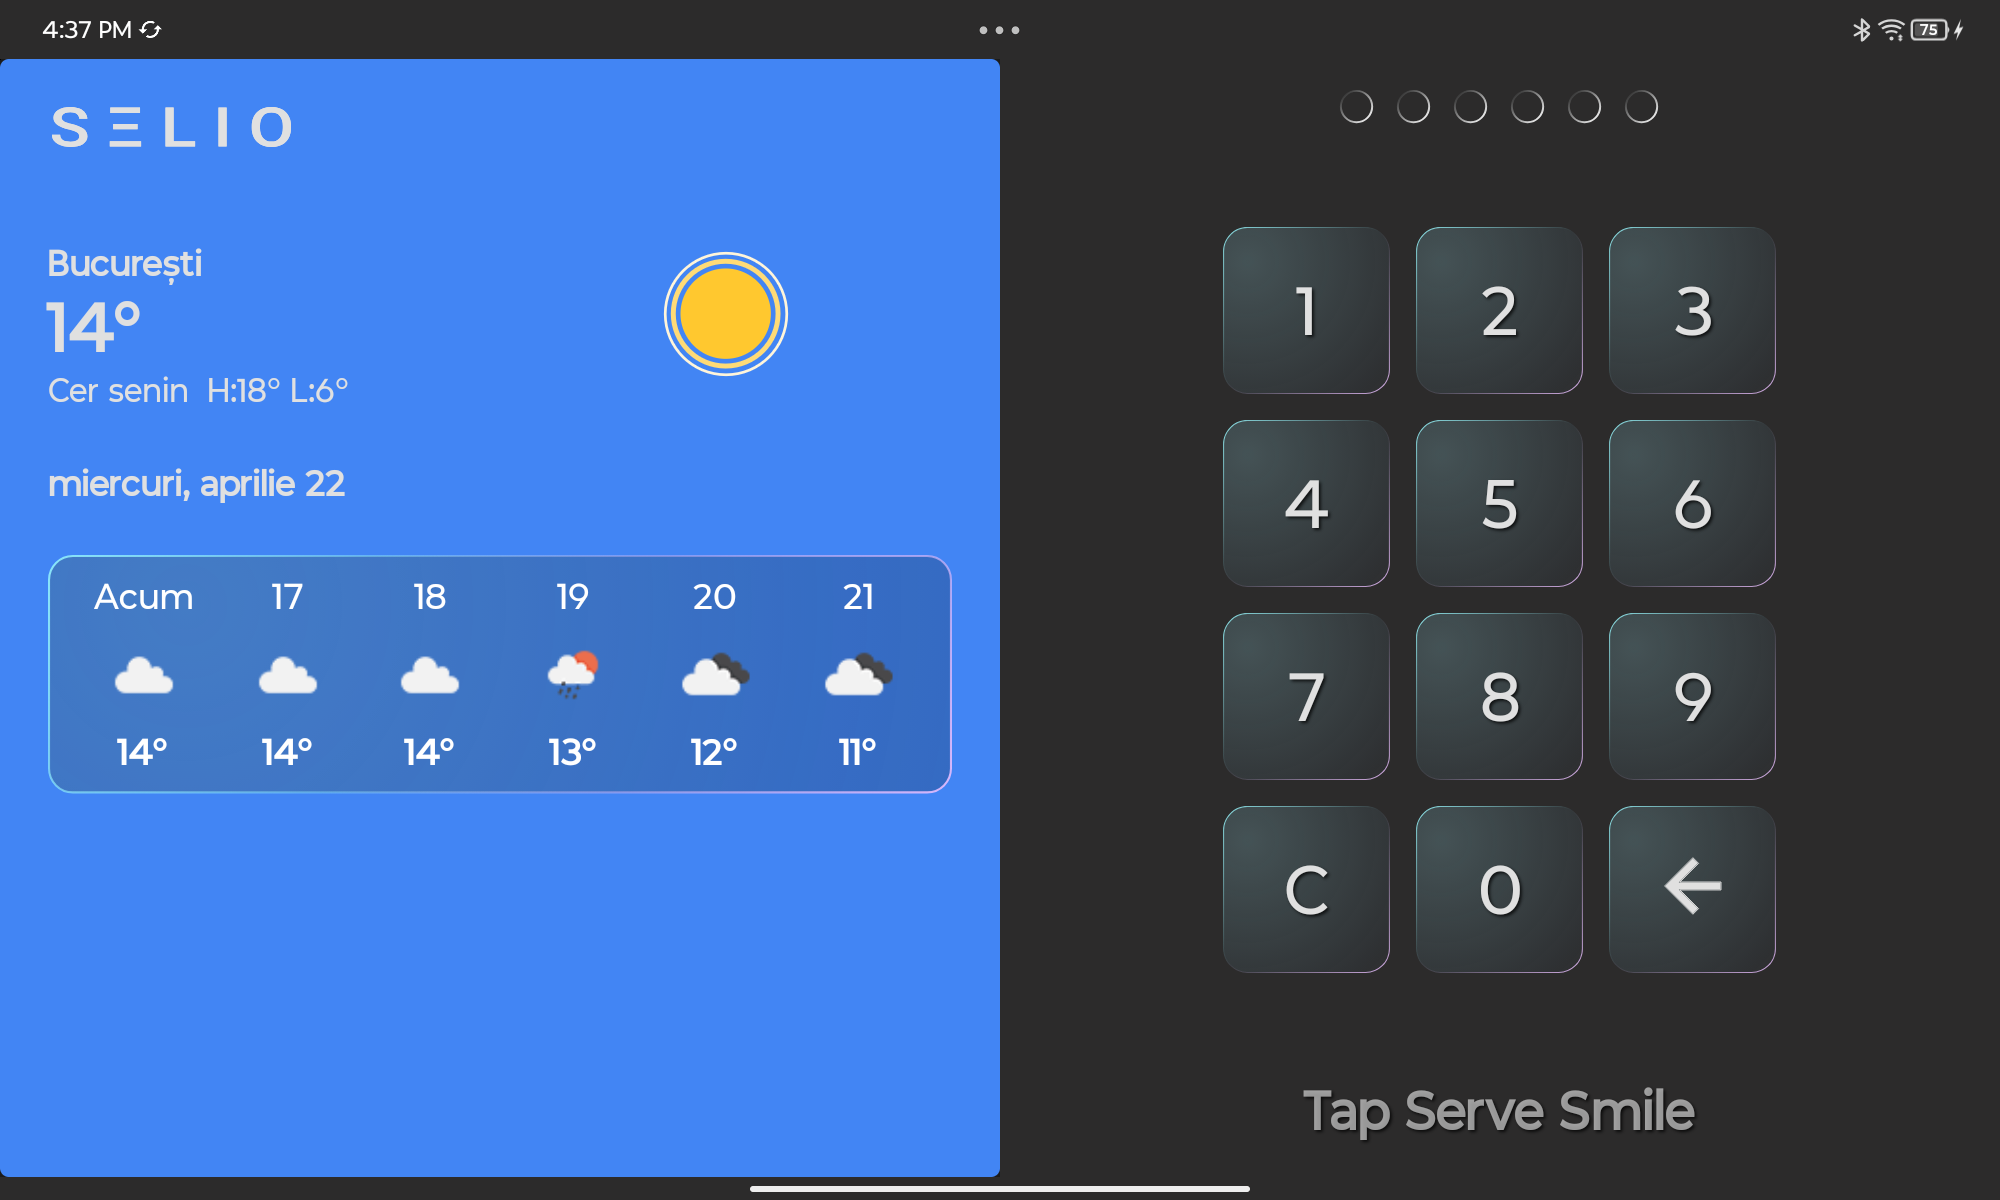
How to Login
Learn how to log into Selio POS using your staff PIN and access the main sales screen.
How to Login
Well done! You’ve completed this lesson.